Settings - Practice Management
Firm groups are useful for firms who want to organize contacts, jobs and/or users into groups such as office, region, location or division. You can set up a maximum of two firm groups to provide additional filtering options for contacts, jobs and reports.
- Click Settings > Firm Settings.
- Click Firm Filtering & Group Settings.
- Select the check box to enable the first group, then type a name for the group.
- Select the check boxes of the area(s) where you want the group to be applied (your settings are automatically saved).
- Add options to the group:
- Click Add Option, type a Description and click Save.
- Repeat to add other options.

- To enable the second group, repeat the steps above.
- Manage the group options as required.
- To edit a group, click its name, edit the Description and click Save.
- To delete an option, click the Delete button
 at the end of its row. You CANNOT delete options that are currently assigned to one or more contacts, jobs, recurring job settings, or users.
 - To hide an option that you do not want to use, click the Collapse button
 at the end of its row. This makes the option unavailable for use and is suitable if the option has already been assigned to a contact, job, recurring job settings or users.
 - To show a group option that was previously hidden, click the Expand button
 at the end of its row.
Once you have set up custom firm groups, they can be assigned to contacts, jobs and users.
.png)
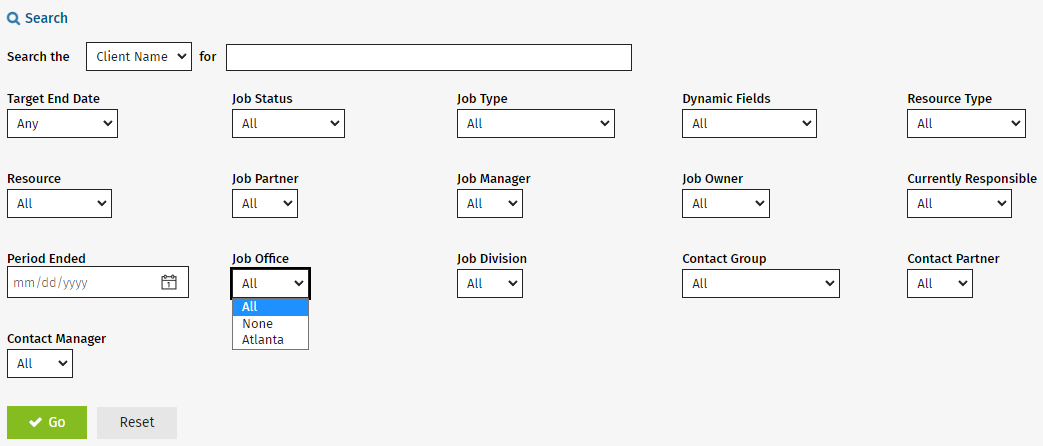
The groups can then be used as filters when you search for contacts, jobs and users (Team Directory).

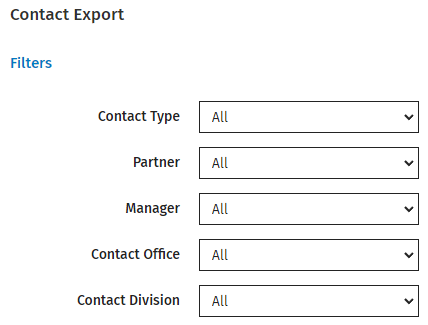
You can also use the group filters in the Contacts reports and many of the Practice Manager reports. Some reports give you the option to multi-select groups.
